
I bought this lovely book from Amazon a couple of months ago, and decided to give a couple of projects a go, as I felt like using my machine again. I am still learning to use my sewing machine. I did a class on "how to use your sewing machine" at my local wool shop (The wool shop Royal Manor of Portland). Where I learnt the basics of using my machine. Then I left sewing alone for a while and lost my confidence a bit. But then my Camper needed new curtains......
.jpg)
and I didn't fancy sewing them by hand, so out came my lovely sewing machine. This had given me back my confidence so I attempted to make a couple of projects out of the book above.


Here she is! My lovely button covered machine - which of course I did myself! The machine was actually my hubbies and I have to say that he has been really helpful with his advice on how to use it. If I ever get stuck, he helps me out with a particular item I am making. How many husbands do you know that can sew?? He is making the interior seats for his old 1960's Cortina.

Anyway, back to my fab book that I bought. It has 101 different projects to make all from a metre of fabric for each project. Ranging from clothing to home decor. Inside you have a pattern for every project, which can be neatly stored inside a pocket of the front cover.

So I took the bull by the horns (so to speak!) and decided that my first item from this book would be a bias skirt. I live in skirts and dresses in the summer (what summer I hear you cry???)

Here is the pattern out of the book. I decided on this skirt as it is an A line cut skirt, and being a pear shaped woman it's the perfect shape for me. Unfortunately, I couldn't find some bright, bold fabric like in the picture but did settle on this lovely flowery material instead.

I haven't got a black and white skirt, so I plumped for this pretty floral pattern. Since making this skirt I have sourced some rather bright funky material for my next attempt. Not cheap though at 13 odd pounds for a metre. I can't afford to make a mistake!!

This pattern is cut on the bias of the material. I had to do quite a bit of reading (all from the front of the book) to work out which way the grain line ran in my material. As this was extremely important to where I laid my pattern pieces. Get it wrong and the skirt would also be wrong!

Pattern pieces all laid out (fingers crossed that I had laid them on the bias!)

Drawing around the pattern pieces, on the wrong side of the material with my vanishing material marker.

Uh oh! Here goes the scary part! Cutting out the pattern I have just drawn around. Hoping that I had my skirt size drawn out correctly. You have to cut a front and back piece for the skirt, making sure you have placed the pattern pieces in line with the grain line.

You know have a front and a back part to your skirt. I labelled an F on the wrong side of the fabric, so I knew which was my front piece.

Time to pin down both edges of the skirt - do you like the vintage tea cup and saucer pin cushion? If So I have 3 available to buy on my folksy page hehe!!!

Now to use the sewing machine. Stitch a running stitch down both sides where you have pinned. Then press the seams open with your iron. At this stage I tried the skirt on just to check that it did actually fit - and it did yeah!!

Next you have to make a double hem at the top of the skirt and sew it up. But you need to leave an inch gap as you have to thread your elastic through this gap. Again try on the skirt to see how tight your require the elastic. Then sew the elastic ends together and close the hem line. Finally you have to make a double hem at the bottom of the skirt, then you are done.........


Project one complete - one "on the bias" skirt!! And the added bonus? It fitted me!!!! P.S it is also extremely comfortable too.
My next project from this book was to be a sewing machine cover.

As you can see form the picture below I don't currently have a cover for my sewing machine. I have been using an old cotton napkin and a piece of cross stitch fabric that my Mum had made when she was at primary school!!

This is the lovely bright, funky fabric that I am using to make this machine cover.............

I totally LOVE this fabric.

Firstly I had to make a pocket for the front of the machine cover where I will keep all my sewing essentials.

Pocket done. At this point I did think to myself that it would make a rather delightful apron! Mmmmm (my thinking cap in on my head) might have to make one of them next! Ready for the end result????


So there you have it! I was really pleased with both of my makes this week. I certainly have far more confidence when using my sewing machine, and I can't wait for my next project. If any of you have any ideas on what you might like to see me make then please feel free to leave a comment and I can see what I can do.
Also this week I have had a good clear out of my workroom. Below are some pics for you to have a little peek at and see where I make my creations.....

I tidied my shelves up but decided it still looked too junky for my liking. So I decided to make some curtains out of an old gingham tablecloth that I never used (didn't dare spend more money on new fabric!). This is what I knocked up in an hour..........

I think they look a lot better don't you?

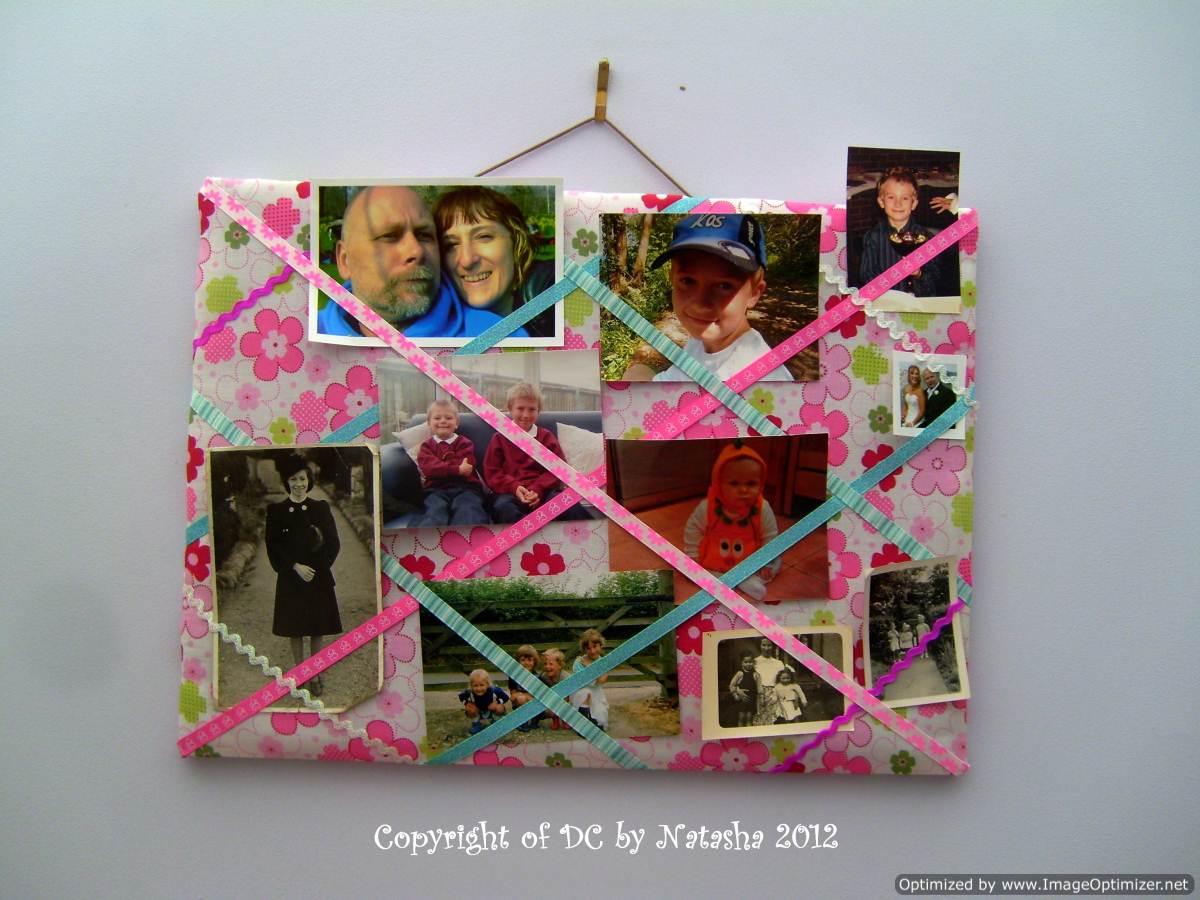
Whilst I was in the creative mood I turned this boring pin board into this............

Where it now hangs in my newly tidied workroom, full of family pics............
Here are some more pics of my clean and organised workroom, which incidently is in a conservatory off the back of my bedroom.

My work table

Where I conduct my business matters!

My craft books and fabric stash.

Some of my paintings adorning the walls.

Looking from my bedroom end of the room through the workroom.
Finally before I go I really must show you a couple of makes that my 11 year old son made this week.....

Whilst I was making my curtains and pin board my son decided to pimp my stapler and named him STEVE lol!! He also attended the local college, via school, this week and did a stone craving course. He came home with this .....

One word..... WOW!
No comments:
Post a Comment