Tuesday 31 July 2012

Look what I won!!

I am busy getting organised for our holiday in Dora the explorer, packing, tidying the garden (in the hope that it doesn't get too overgrown whilst we are away), painting Dora (don't ask!!) - She has had a lot of work done on her recently due to her literally falling apart.  My lovely hubbie is working  all hours to get her ready in time for our hols.  We are now having to leave 4 days later than planned. I am actually that organised that I have all  the new school uniform ironed, named and ready for going back to school in September! But before I do go away, I just wanted to share these gorgeous earrings with you that I won from "Dear George Designs"  on Facebook. All I had to do was share a photo from her page and that was it, I was the very lucky chosen one! Arn't they gorgeous?


I had my pair made with a lovely light blue crystal. If you would like to buy a pair here is the link to them:
They arrived in a lovely hand stamped box with a gorgeous hand made newspaper flower (which you can also buy from Dear George Designs Folksy shop - Thank you very much Sarah!
Right, back to the organising and packing!! I have managed to download the blogger app on my smart phone so I will try and add a few pics of our travels. Catch you soon xxx


Friday 27 July 2012

Chutney & Cheesecake!

Hi! How is everyone? What have you all been up to? (comments below please!) 
Since the start of the summer hols I haven't had chance to be very crafty. You remember I said that I would make some new granny squares and show you the results in my next blog? Well, unfortunately I haven't had chance to have a go! I will try, and as soon as I have created some I will write a separate post......hope you don't mind? 
My friends first baby is due in August ( she is having a baby girl) so I am desperately trying to crochet her a cardigan. I am slowly getting there, as it is rather fiddly and the hook I am using keeps catching on the thin wool. I have never attempted a baby cardigan before, so its been an enjoyable learning curve for me. Would you like to see what it looks like?


I have got a little further on than you can see in the pic. I have about 7cm of shell work to go and then I have to crochet the arms and finish it off. I do so hope it works out! - I will keep you posted.

Whilst I think about it, I must just show you this......


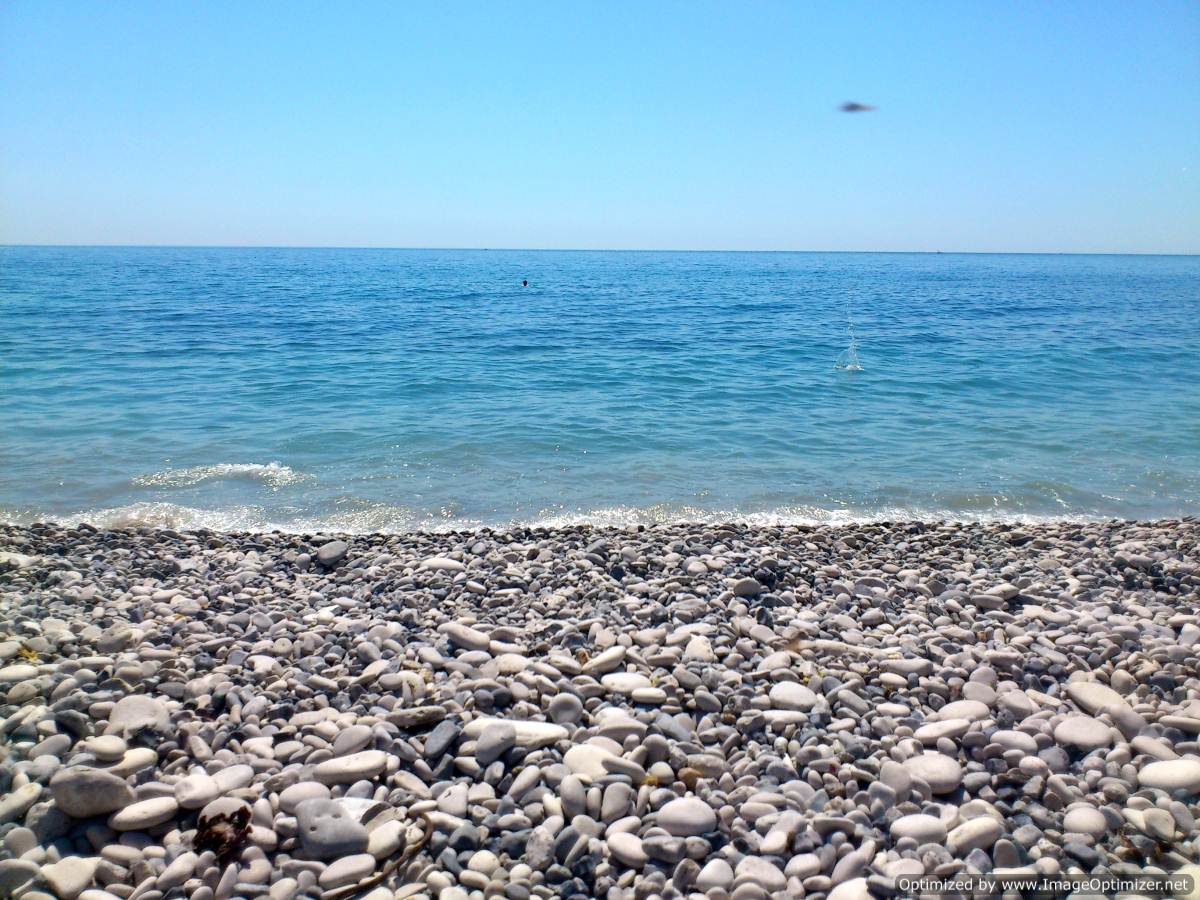
I meant to include this pic in my last post. My littlest man created these stone sculptures when we had our lovely day out to Church Ope Cove. He was even rubbing the stones together first thinking that the static would hold them together. It was lovely to just sit back and watch him concentrate.

So, back to what I was telling you (my excuse for not creating anything handmade). I did have a day of baking this week. I made some green tomato chutney- a real favourite of mine as my lovely Nan used to make this, and as a child I ate it with most my dinners - yum!. And a delicious strawberry cheesecake (hence my post title!)  

Green tomato and apple chutney


Ingredients you need:
225g light soft brown sugar
850ml malt vinegar
900g green tomatoes, roughly chopped
900g Bramley apples, cored and roughly chopped
225g sultanas
115g raisins
225g shallots (I used onions and couldn't find shallots)
Juice of 1 lemon
25g salt
1 teaspoon ground ginger
1 tablespoon ground mixed spice


We grew our tomatoes in our green house so due to the lack of sunshine we had plenty of green ones!


1) Put the sugar and vinegar into a large pan, over a medium heat. Stir often, until the sugar has completely dissolved. Add the remaining ingredients and return the mixture to boil.


2) Reduce the heat and simmer gently for 2 1/2 - 3 hours. Check if the chutney is ready by dragging a channel through the mixture (with a wooden spoon) so that the bottom of the pan is visible. If the channel fills immediately with liquid, the chutney is not yet ready. cook for a further 10 mins and check again. The chutney is ready when the channel does not fill and the mixture is very thick.


Like so!....


3) Remove the pan from the heat and leave to stand briefly. Carefully pour into hot sterilised jars and seal. Allow the chutney to cool completely before labeling and storing in a cool, dark cupboard. Store for at least 2 months before eating. (we couldn't wait and opened our first jar the next day, it tasted lovely but I am saving the others for 2 months time!)

Now for the cheesecake..... yummy!

Strawberry cheesecake


Ingredients you will need:
125g digestive biscuits
75g soft butter
300g cream cheese (I used marscapone)
60g icing sugar
1 teaspoon vanilla extract
1/2 teaspoon lemon juice
250ml double cream
fresh strawberries

1) Blitz the biscuits in a food processor until beginning to turn to crumbs, then add the butter and whiz again to make the mixture clump.

2) Press the mixture into a well greased tin; press a little up the sides to form a slight ridge.

3) Beat together the cream cheese, icing sugar, vanilla extract and lemon juice in a bowl until smooth.


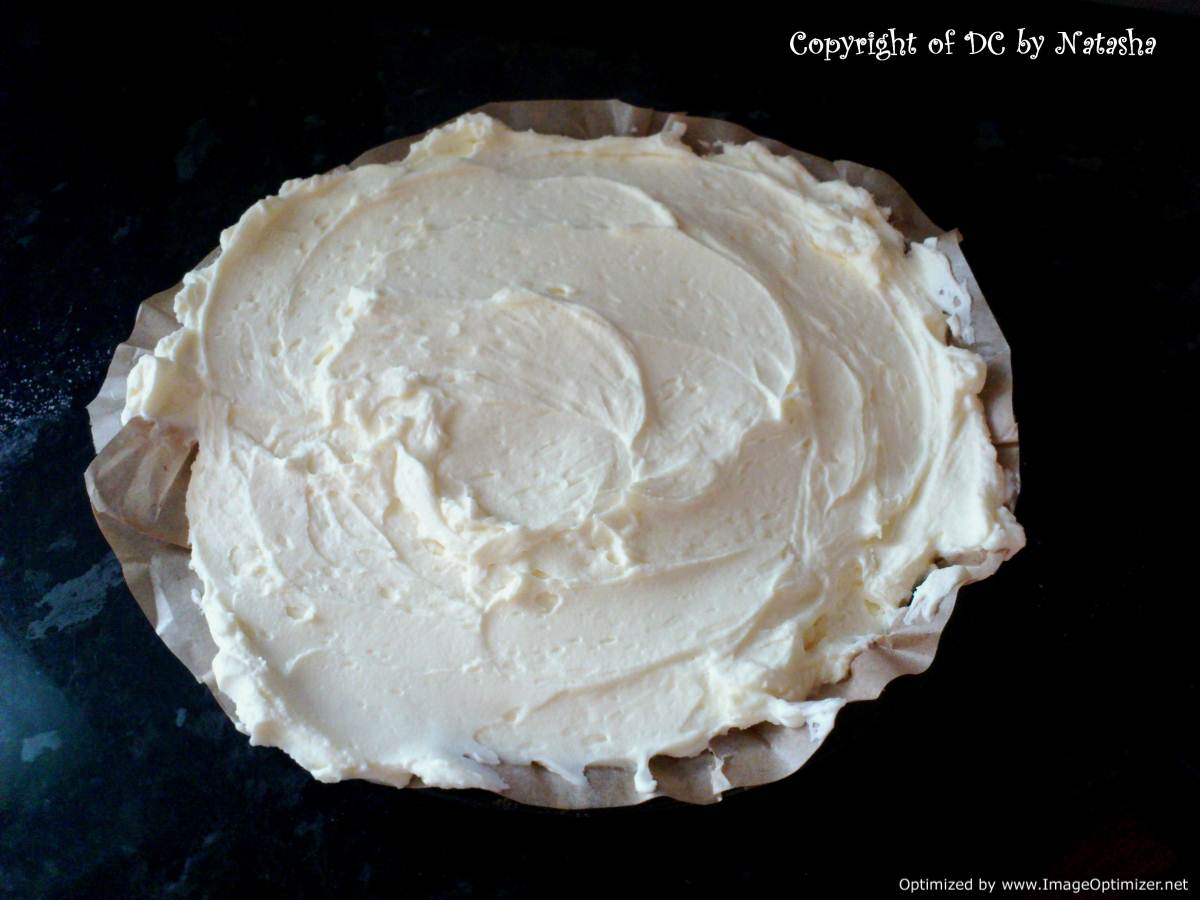
4) Lightly whip the double cream, (notice my lovely Nan's old whisk I am using in the pic above) and then fold it into the cream mixture.


5) Spoon the cheesecake filling on top of the biscuit base and smooth with a spatula. Put it in the fridge for 3 hours or overnight.

6) When you are ready to serve, slice your strawberries and place on top - perfect!


Very tasty it was too. If you have a go at making either of these recipes I would love to hear from you, so please leave a comment.

Right I am having a quiet day at home today so I am actually going to get creative this afternoon, once I have folded up the lovely sun dried washing. I won't tell you what I am going to make today, you will just have to wait until next time!

P.S - We are away on our 2 week camping holiday at the end of next week. I will try and use my phone to add the odd pic here and there of our adventures. If you don't hear from me you know where I am - "wish you were here!"
I will see you soon, have a lovely summer xxx

Summer fun in the sun!

Well finally the sunshine has peeked it's head through the clouds and given us an absolutely brilliant start to the schools holidays. I thought I would share with you some gorgeous pics of my local beach, Church Ope. To get down to the cove you have to go through the pirates graveyard (where REAL pirates are buried!?) then down lot's of wobbly steps. But once down there (cool box, chair, swimming things etc in tow) you would believe you were in paradise. Shall we take a peek?.....


This is the view from the pirates graveyard, looking down onto the beach. At this point you still have those wobbly steps to contemplate, so you are not quite there yet!


Finally arrived at the beach and all set up ready for some summer fun!


Sat on the beach, view to the right then left.


My little men and their friends having fun in the sea.


If you look behind you there are an array of beach huts (would so LOVE one of these here, but they cost  nearly as much as a house! - well maybe that was a slight exaggeration!) In the top pic you can see the  remains of Rufus castle.  
We had such a beautiful day, lovely picnic, a spot of paddling (hand in hand with my littlest man - wonderful x), sunbathing, reading, and all out relaxing - heaven.


Friday 20 July 2012

How to make a fabric pencil wrap


I know the children have just finished school for the summer hols, but I was having a little ponder about what I could make that might be useful for when they do return to school.  (I also just  felt the need to create something out of lovely bright fabric!) I actually started off by making myself a fabric wrap for all my crochet hooks and scissors, which I am now using and find it extremely handy. It was thrown together rather quickly as (those of you who know me will know) I love to see the end product so desperately that I do have a slight tendency to rush a project just so I can take a peek at the end result. Once I have made one I then slow down, iron out the creases (so to speak) and take my time to create a perfect one! 


Before I show you how to make one, let me share with  you some GORGEOUS fabrics that happened to find their way through my letter box this morning.  They have come from a brilliant website called Fancy Moon. I have never used their site before but not only do they have oooodles of delicious fabric, the customer service and delivery were impeccable. I would definitely recommend them! I now can't wait to get started using it all!


So now for today's tutorial. You will need: A basic sewing kit, sewing machine (or you can sew by hand), iron on interfacing (you don't have to use this but I like to give the wrap a sturdier feel), a large button, a piece of ribbon/cord approx 32cm in length and 2 coordinating fabrics. In the crochet hook wrap pic above I have used a heavyweight cotton fabric but for the pencil wraps I have used a medium weight cotton.


Before you cut out your 2 pieces of fabric for the outside and inside, make sure that whatever you are going to be putting in the wrap will fit!


Cut out 2 pieces  of fabric the same size for the outside and inside of the wrap ( I haven't given exact measurements here, so that you can make it as long and wide as you wish) and a smaller piece, in a different fabric for the inside pocket. (Remember to cut enough fabric out to allow for your seam allowance).


If you are using iron on interfacing then now is the time to iron it on to the  fabric. Iron it to the piece which you are not going to be sewing your pocket on to.


Now cut out your pocket piece. Double over the fabric so it gives strength to the pocket. You need to cut the pocket piece similar in size to the picture above, but remember to double it over first! 


Whilst the irons hot, press your hem around the outside edge of the pocket and press the top edge where the fabric is folded over already.


Pin around 3 of the edges of the pocket, leaving the top edge alone.


Using you sewing machine sew around the 3 edges of your pocket, remembering to leave the top edge well alone!


I chose a zig zag stitch on my machine to give the pocket a bit of decoration - I will leave that to your preference.


Now you need a ruler  and some more pins. On the bottom of the pocket measure along 2cm at a time (maybe more if you are putting marker pens, or a larger item into the wrap). Then put a pin in the bottom of the pocket at every 2cm gap.


Using a  straight stitch, sew from the bottom of the pocket right up to the top at each 2cm pin marker. It is a good idea to reinforce the top and bottom of each line by using your backwards button on your sewing machine, and sewing over the same part each time. This will help keep the pocket fabric pulling away from the base fabric when the pencils are being put in and taken out of the wrap. 


Once complete the pocket should look like this. I have left a wider gap on the left side so that I can fit a ruler, eraser and sharpener in it but you don't have to do this.


You now need to get the other piece of fabric (the one with the interfacing on) and sew the ribbon and button on. For the wrap to do up these need to be placed in the centre, like in the pic above.


Now place the 2 pieces of fabric (right sides together) and pin around the outside edge. Leave a hands width gap along one of the lengths as this is where you will turn the fabric pieces around the correct way. 


Cut off each corner before you sew the sides so that when you turn it the right side round the corners will be neater.


Sew along each length with a straight stitch. When you get to the corners leave the needle in the fabric but lift the foot so that you can turn the fabric around to sew down the next edge. This will create a neat corner.


Once all 4 edges have been sewn turn the right way around.


Using a pen or similar object to poke the corners out.


Iron away the creases and press the open gaps hem under.


Using the zig zag stitch (or straight stitch if you prefer) sew around all four edges - this seals up the gap and finishes the wrap off. Here you can see the zig zag edge which runs around all four sides.


You can now have your" ta-dah" moment as your pencil wrap is complete - well done xx


Feel free to leave me your comments as this is my first written tutorial. Let me know if you attempt to make one and please share your pictures with me via my Facebook page...... Happy making xx